Creating the Magpie’s Absolver Weapon Prop

In the grim distant future, there is only war.

I miss being creative. I really want to dust off the fun I would have designing costumes and building new parts of worlds I love. What better universe to do that in than 40k?

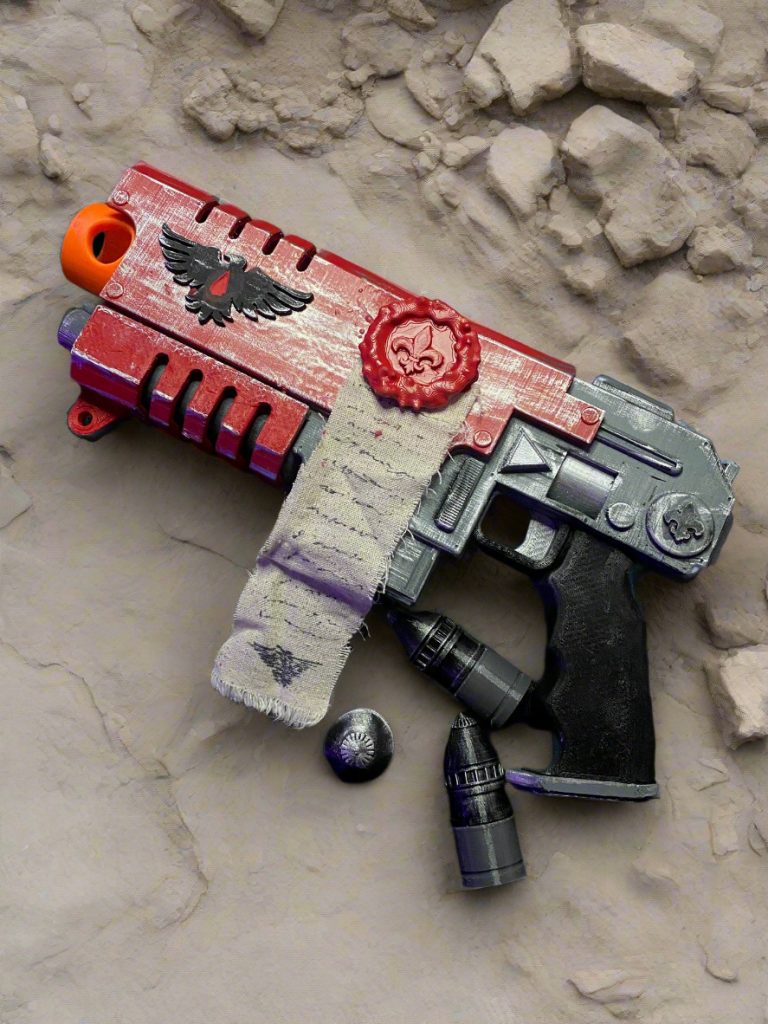
What is anyone in the grimdark future without a weapon to defend themself? Toast, that’s what they are. The Sisters of Battle are no different, often armed with chainblade and bolter running headlong into the heretic, alien and mutant.

Our sister encountered heavy heretic resistance on her mission as well as the last-standing Blood Ravens apothecary by chance. Their joint last stand with bolters in hand against the droves of chaos claimed the apothecary’s final breath. From that breath, the words “take my brothers home” fell from his lips, as his Absolver bolter pistol fell heavy from his gauntleted hand, and his fallen brothers’ gene-seed from the other. Our sister picks both objects and with the blessing of the Emperor escapes and is picked up by a Blood Ravens Thunderhawk roaring down from orbit. This fabled Absolver was gifted to the Sister for her incredible deed of bravery and service to the Chapter.

Modified to bear the heraldry of both Blood Raven and Sister of Battle, the Magpie’s Absolver has been reborn and purified, ready to tear into the flesh of those who dare incite chaos to the Imperium and its people.

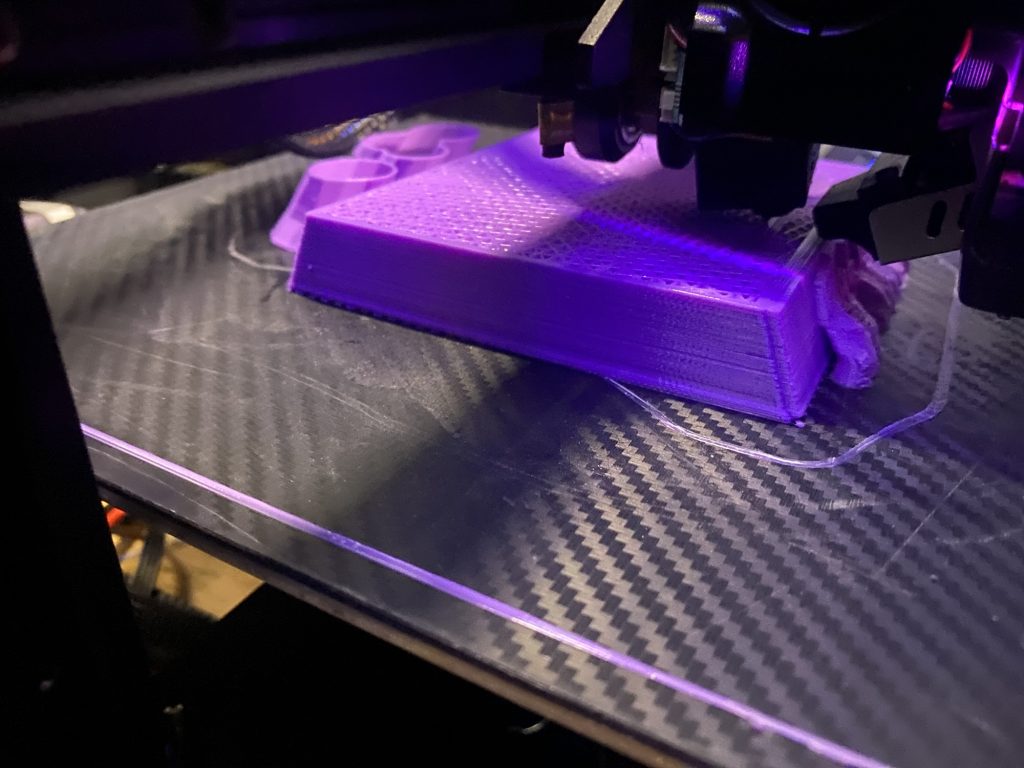
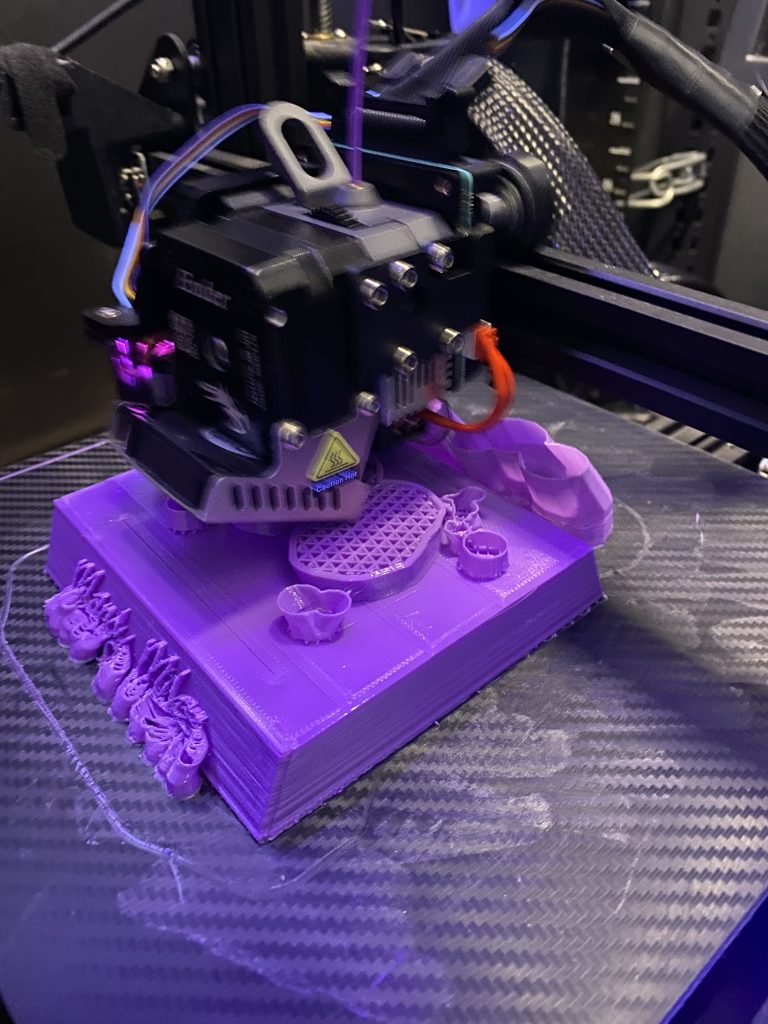
Now, about building this thing. It’s constructed out of about 16 different pieces, printed in PET-G for strength and smoothness. I used a 40% infill but could have likely gotten away with 30% (the prop weighs nearly 1.5kg!) It also measures over a foot in length!

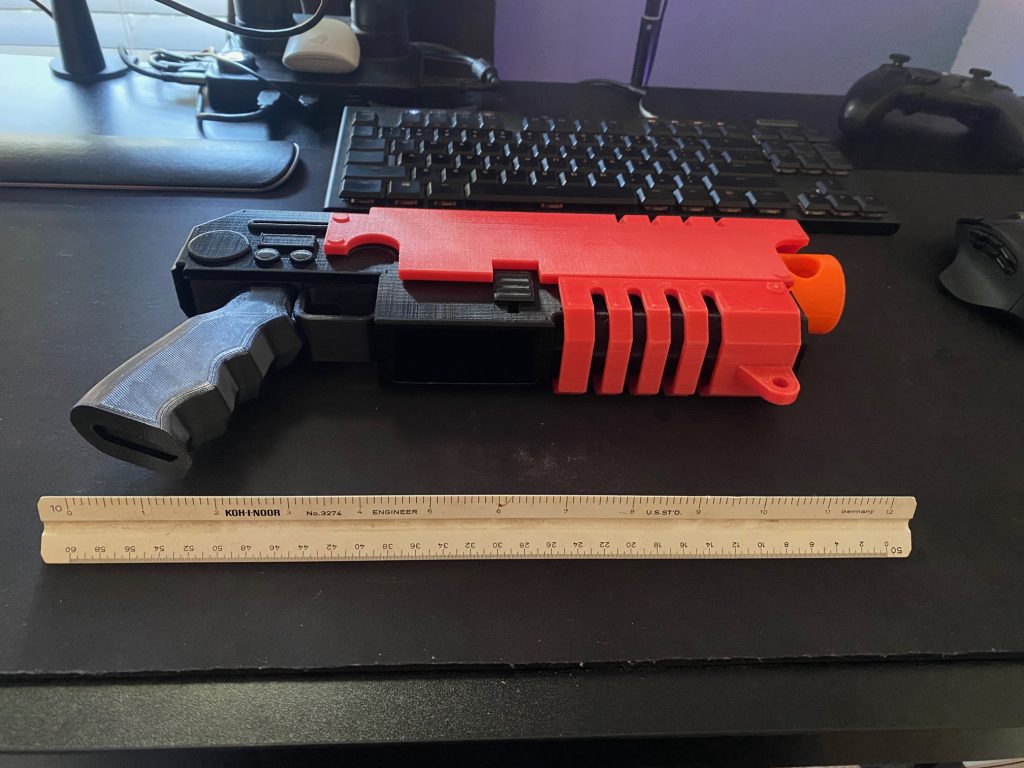
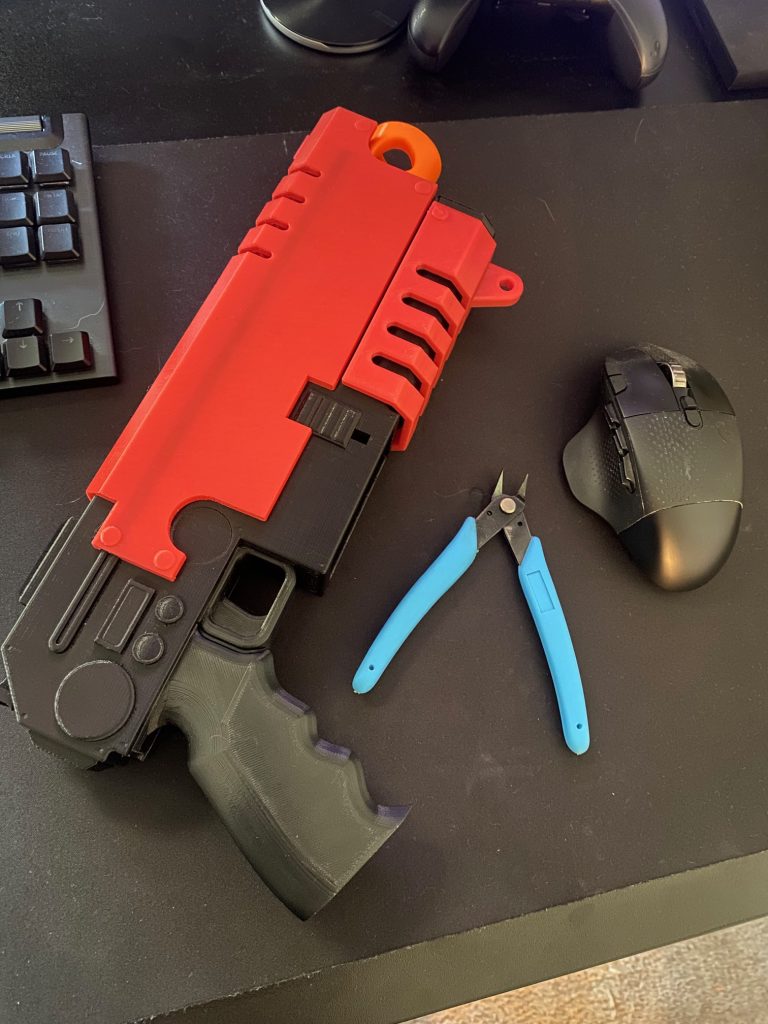
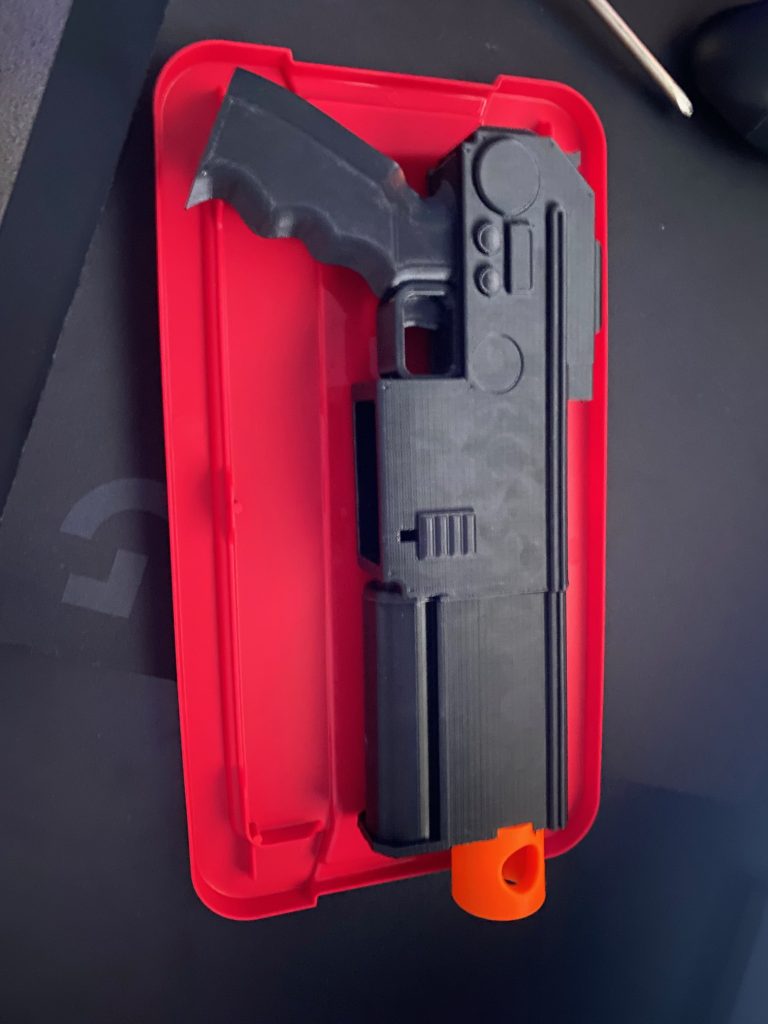
Most of the parts are friction-fit, with a couple of smaller pieces requiring glue. The main body of the prop was printed in two pieces to accommodate my printer and is held together with the top rail of the prop. The first part that I printed was the bright orange tip for safety; the prop does not work but I wanted to be super safe.

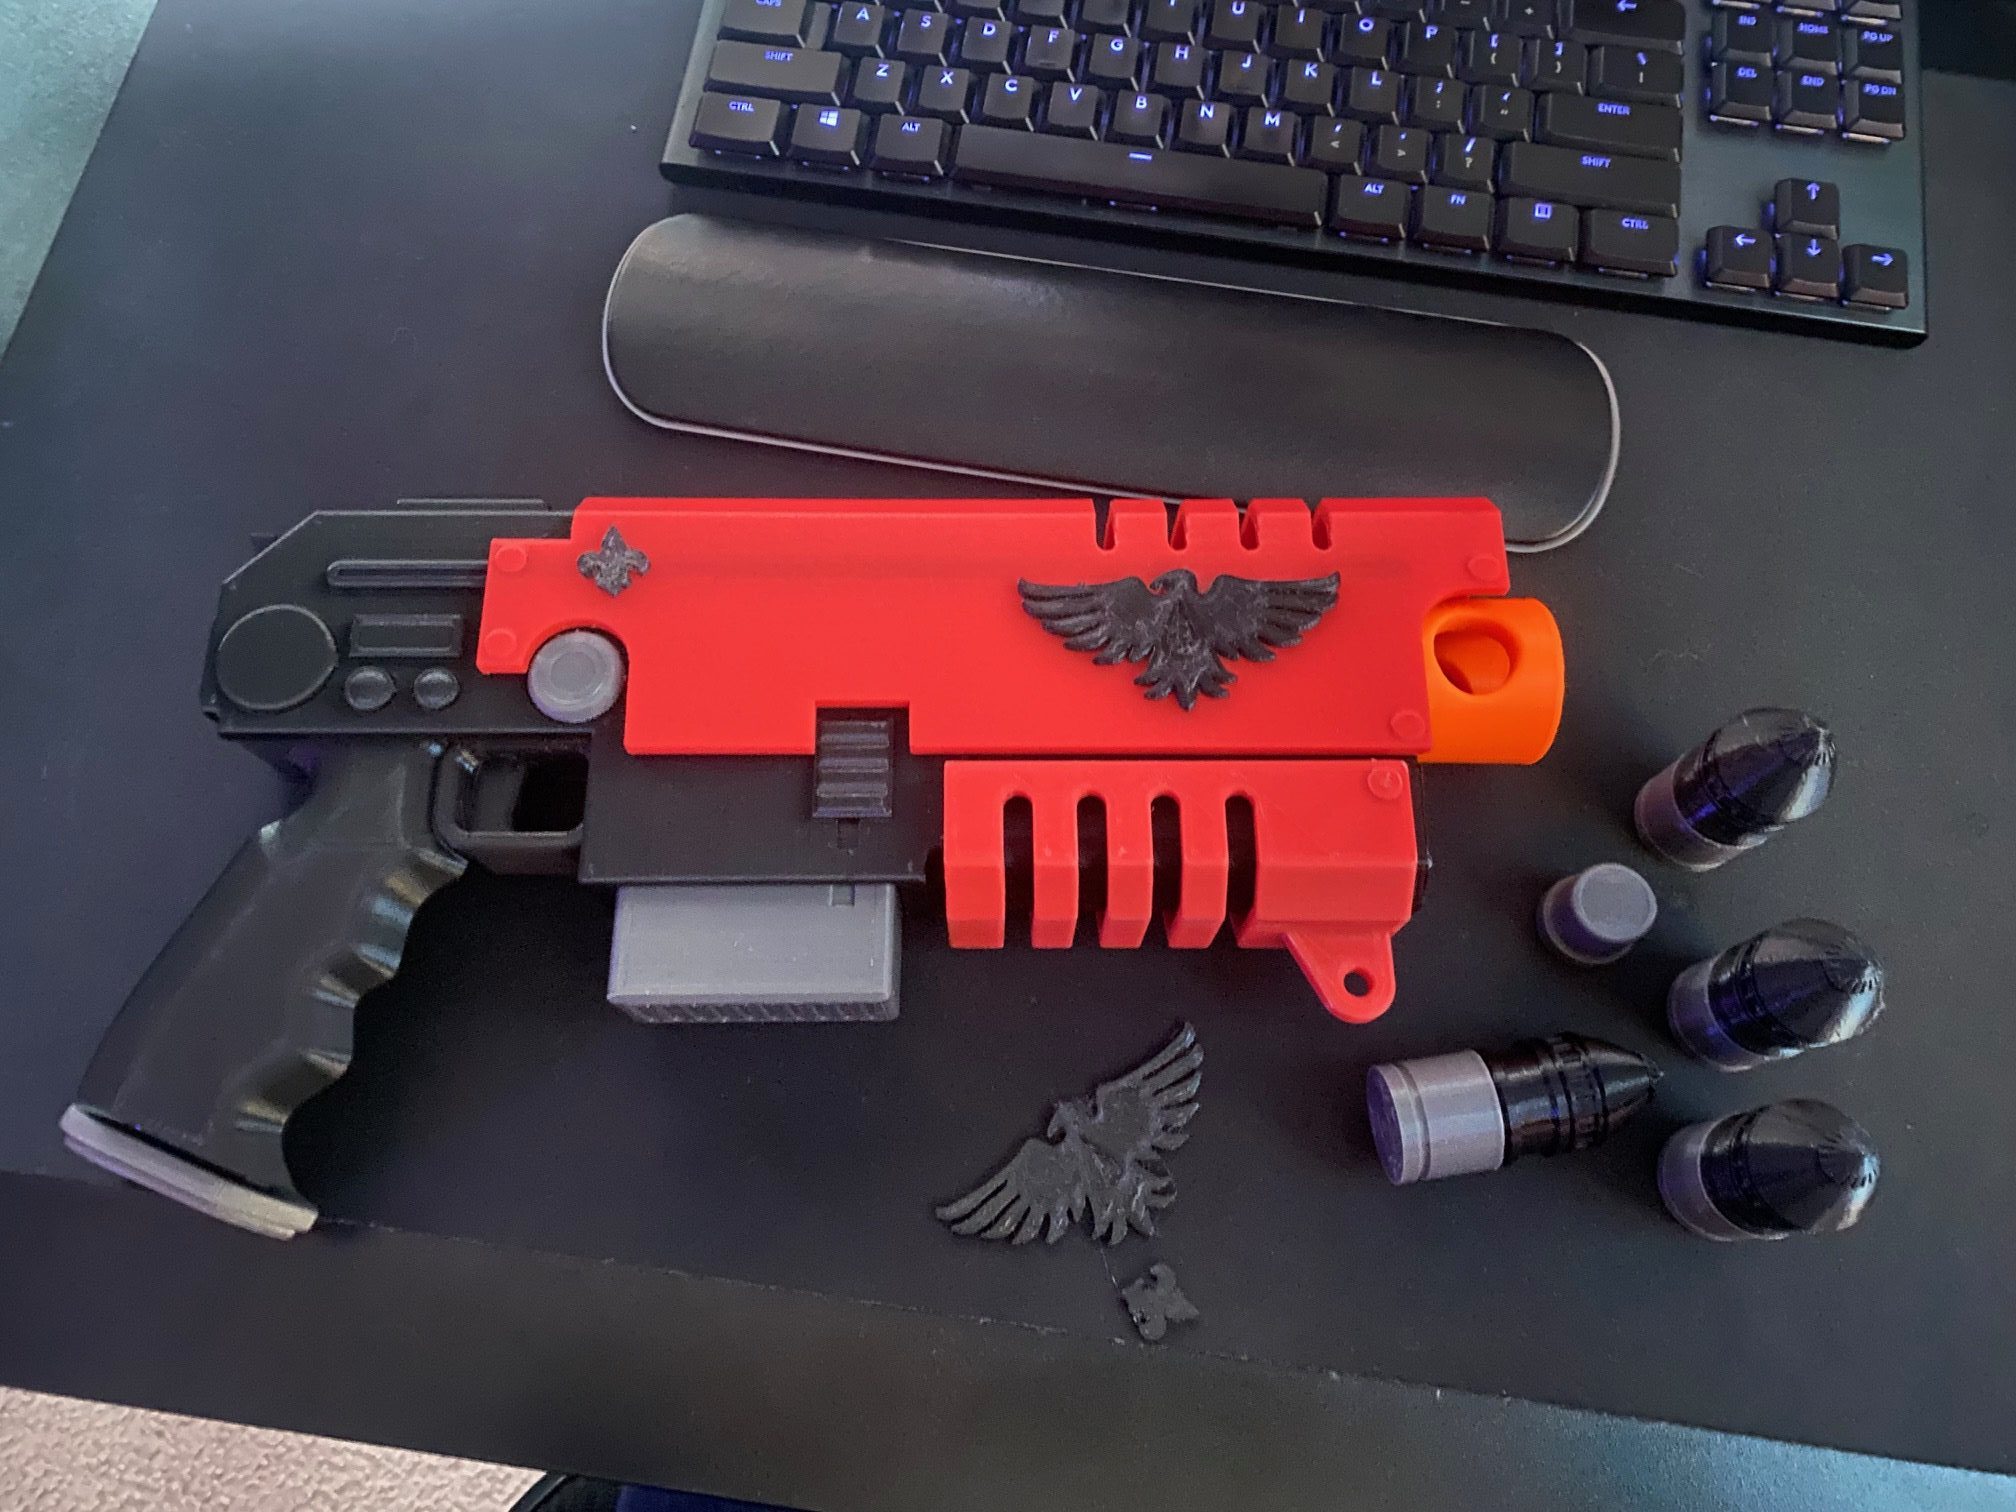
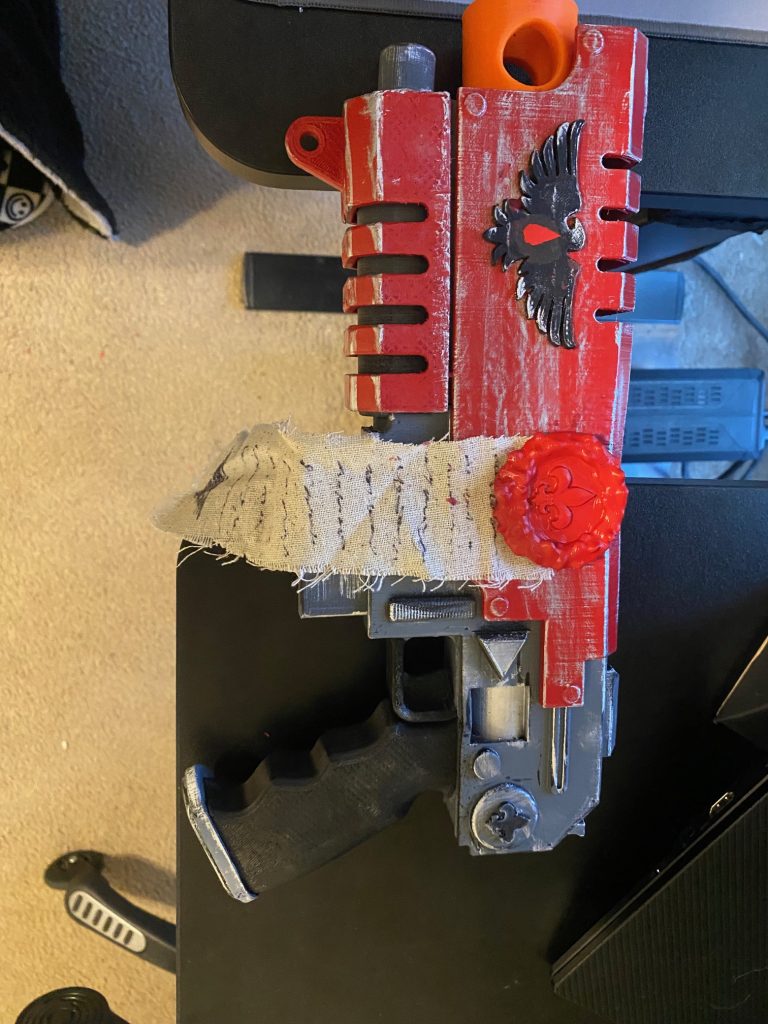
I printed most of the prop in black PETG with accents in grey and red. To get the metallic look, I used a base of a spray-painted acrylic paint for a consistent coat, followed by a light brushing for contrast of some black and then silver foil. The prop features a printed purity prayer bearing the Sisters of Battle seal, as well as Blood Ravens heraldry and fleur de lis throughout.

The bolts that I printed for the prop do not fit in the magazine, and are for display/bandolier purposes. I will print some shorter ones to accommodate the shorter magazine length.

I think it turned out pretty great for such a large print! Let me know what you think!

-Andi

Skins Etc Business Card Holder

A couple weekends ago, one of my first business card display prints was damaged by a customer going to grab a card. It happens – as it was one of my first prints overall it was not perfect by any means.

This time around, I wanted to make something a little more special than just your conventional business card holder. I was able to find a scale model jeep file and modified it to where the business cards would sit in the driver’s seat. Perfect for the business who sells Jeep branded apparel.

I also added their business name onto the hood of the model so it’s uniquely theirs, and naturally got carried away trying to add some small accessories like a jerry can and a shovel to the model. I ended up needing to go back to the basics of the model in order for the file to export and print properly.

This thing is also HUGE for my build plate, so I’m having to print it with the headlights pointing upward like we’re launching to space. It’s total print time is about 2 and a half days from start to finish. It’s easily the single largest piece I’ve printed in one go using almost 500 grams of filament. I’m streaming the print from start to finish on Twitch so we can keep an eye on it if I need to leave. It’s also super relaxing to listen to.

Having the blacklights on in the enclosure really helped for making sure the first critical lines went down well. Between tightening my nozzle at temperature and adjusting the z-offset, I was able to get a clean consistent first layer which built up nicely.

Here we are a few hours later. You can see that the lines are adhering well, not having much errant filament strings.

Coming along nicely! Expecting to see this come off the build plate late Friday night, early Saturday morning.

And here’s our final result! I think they’re going to like it. What do you think?

Mandy Miles Studios – Forming Hands Business Card Holder

After much adieu and modifications to the 3D printer, we decided to revisit a previous print that I had made for the studio a while back. We had printed a pair of hands on a platform to hold Mandy’s business cards in her shop. They’re fun, eye-catching, and have started great conversations leading to classes and much more.

That being said, it was printed when I was just beginning to learn how to print. The print was made with PETG and used a light infill, which made it not as sturdy as later prints. I printed at a lower temperature than what I needed which led to stringing and overall not a great product.

This time around, I’ve made adjustments to my temperature and settings to where we’ll have a sturdier end result in a very pretty purple color that matches her walls in the shop.

Feel like it turned out really nice! Want your own? Contact us.